Performance Hack #008 : Drawings : How to copy linked notes from a template into another template
How to copy linked notes from a template into another template.
So, let’s say, you come across the following:
1. -you have a sheet template
2. -but you have zero custom properties
3. -title block that is basically ‘lazy’ aka we have no notes linking to custom properties. Currently, as it is, we have every page having to be manually updated by editing the sheet format, and then double clicking the notes to add/remove text.
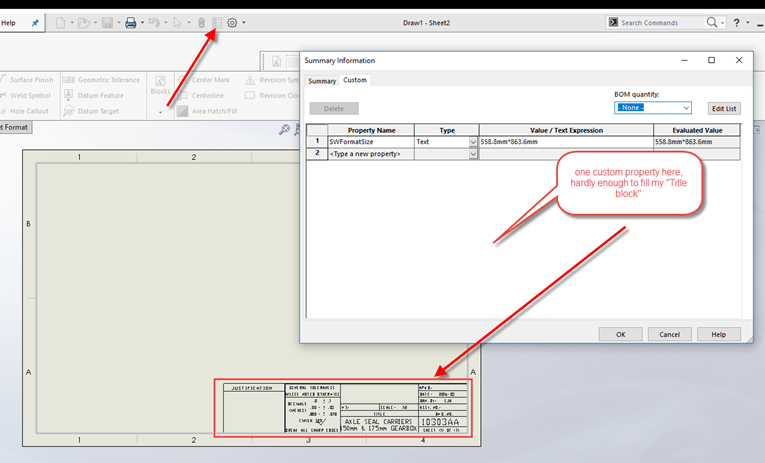
How we can save time: Using linked custom property notes ! If you update the custom property, every linked notes attached to that will be updated. Very nice for multi-sheet drawing documents.
Usually in this case, we would edit the sheet format, then add a note to the page, and then insert a linked property.
Now here, in this case, I know I have a bigger sheet size, but with beautiful already done custom properties. I can use this to my advantage.
a) Insert this other sheet size into the current document. “Add Sheet”
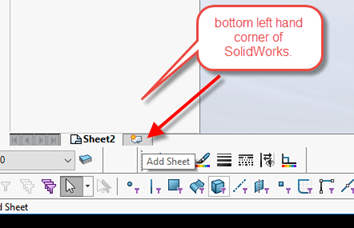
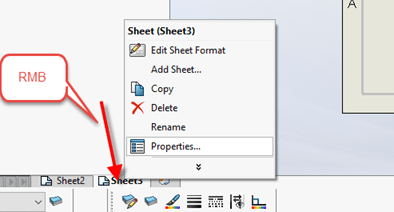
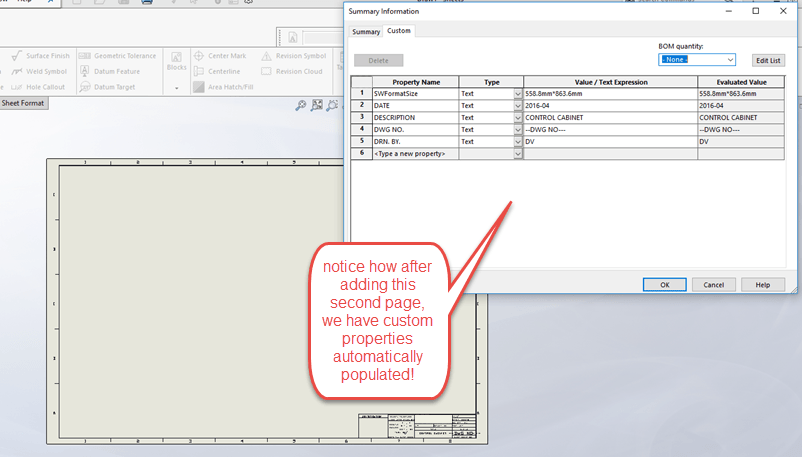
b) Right Mouse Click this new sheet, for “Properties” we want to change the sheet format.
c) Now click on the Browse button, and locate this other template.
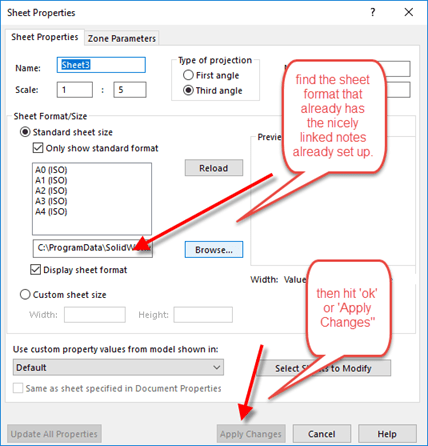
d) Notice if we go back to the custom properties. We have freshly automatically inserted customer properties based on this other sheet format. Half of our job is already done..
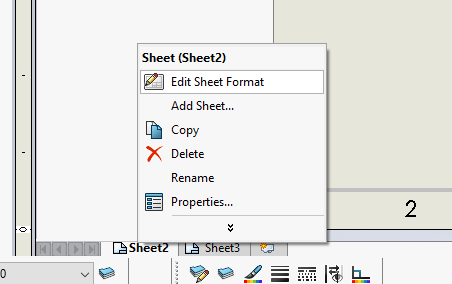
e) Edit sheet formats on both sheet1 and sheet2.
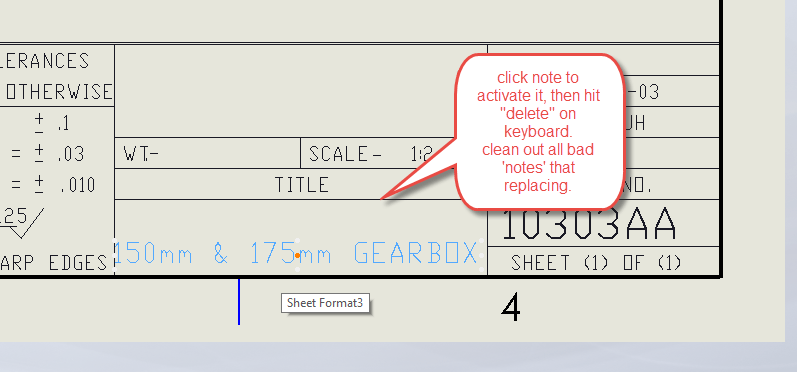
f) Now we have to go back to our sheet format on sheet 1, and delete out all these bad notes. Delete out all the notes that we are going to be replacing.
g) Go to the Second sheet, and select the note that we want, and ctrl+c (copy), and then ctrl+v (paste) it onto the sheet we need it on.
h) An ALTERNATE tactic, if we have more than one custom property we need to copy, is to use the ‘block functionality’. You may need to turn on the View>Toolbars>block toolbar.
a. One the good sheet, ctrl and select all the entities that you want to copy. So right now, all notes that we want should be highlighted
b. Tools > block > Make
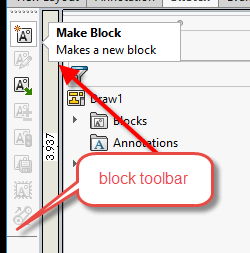
c. Select or Confirm all entities, and optional: insertion point.
d. Now, copy this block, and paste it onto sheet1.
e. Position this block properly.
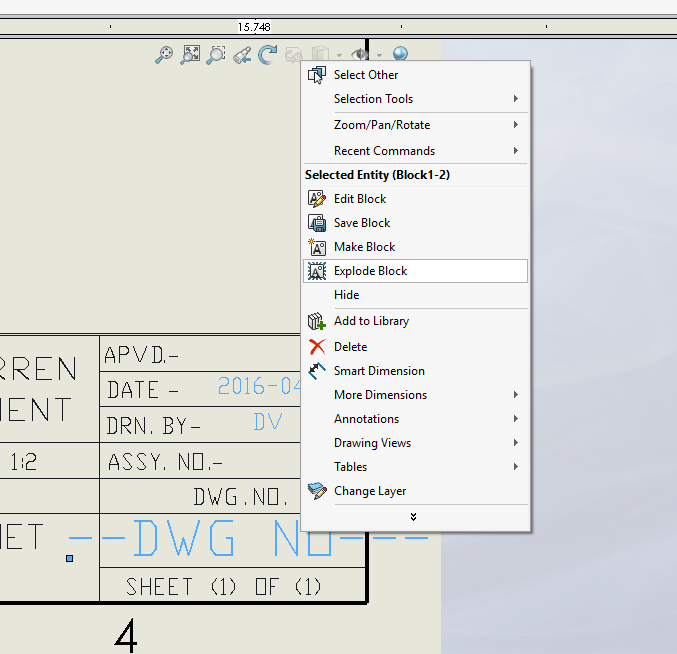
f. Then right mouse click this block to explode it.
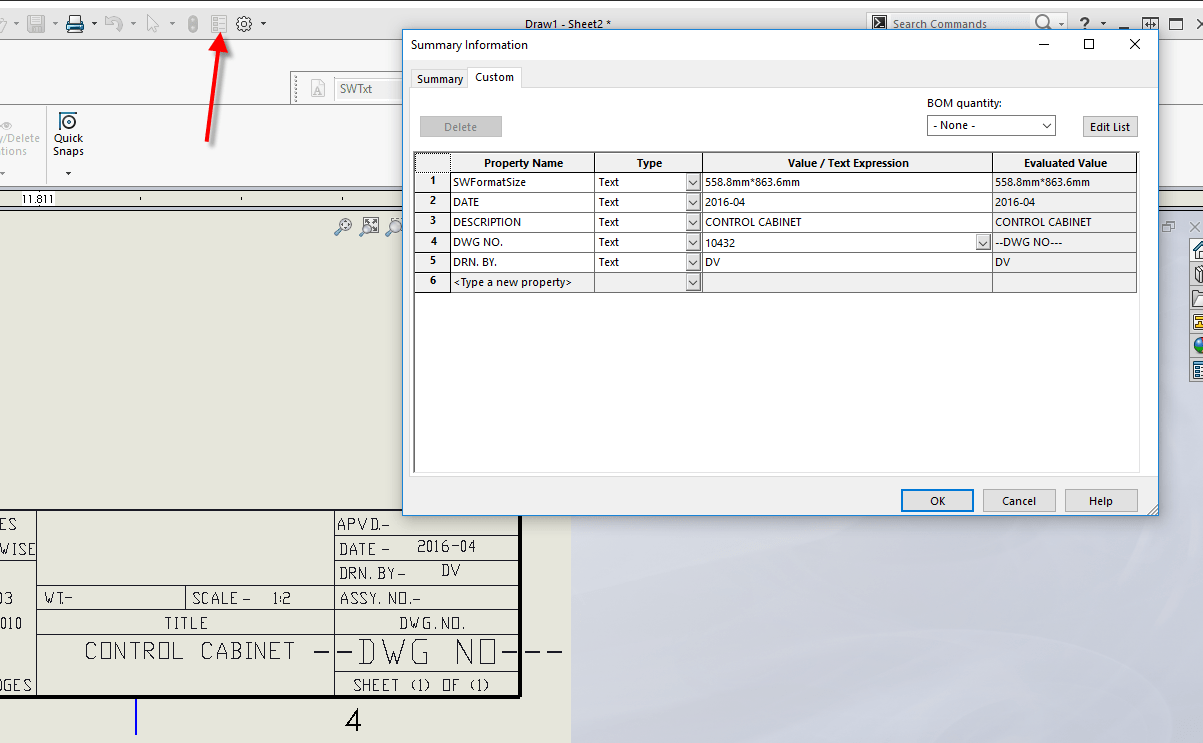
i) As our final test, go back to custom properties and modify the values. Hit “ok” and confirm that the title block has updated properly.
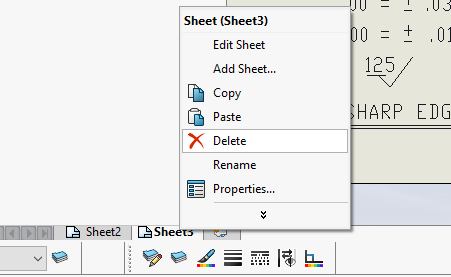
j) Delete out this now extraneous second sheet. Right mouse click this sheet2 tab, for “Delete”
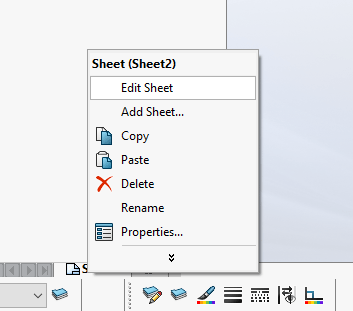
k) If you haven’t already, on this sheet1, “Edit Sheet”
l) Make sure to save this sheet format. (never save over an existing sheet format, always save to a new name)
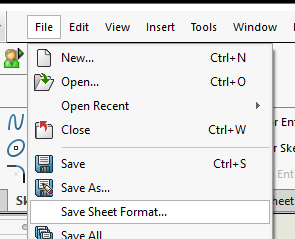
m) Optional: File > Save As > Drawing Template type. (must always be performed after a save sheet format)



Leave a Reply
Want to join the discussion?Feel free to contribute!