Performance Hack #009 : Solidworks Speed Performance : Import Geometry
Overall Concept
SolidWorks have ability to open and work with dozens of other CAD File types. In this tutorial we are going to talk about How to handle imported part and assembly. We are going to use SKF bearing part as study part. Let’s also learn how to modify imported parts to make it more like native SolidWorks files.
Step-1 Download and open attached Part
1. Please open the attached Deep groove ball bearings part into SolidWorks. “6222-2Z (1).SWB” Unlike many other file types, this .SWB must be opened from the Macro > Run command. Make sure that you do not miss the dialog box confirming the file location of the assembly. If you try to open it from the generic file > open, it will present with errors.

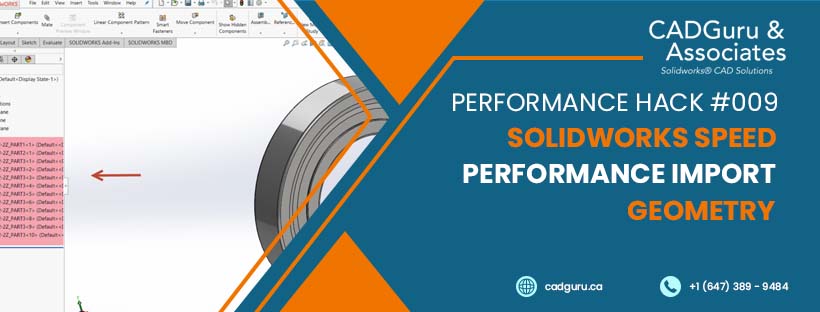
2. You can see multiple part files and components in assembly.

3. Initially this assembly looks awesome. Unfortunately, all parts are not “fix”. We technically have multiple floating parts in this assembly as shown by the (-) in front of part files names. There are three routes that we can take, now that we have our file open.
1 – Do Nothing: this is a bad practice and can lead to potential problems down the road if a part gets inadvertently dragged off into space. This could potentially cause excess interference issues. Alternatively, this approach may be NOT useful if the assembly is cumbersome or not fully appropriate for its final intended use.
A quick fix is to merely ctrl or shift select all the parts, and right mouse click for “FIX”.

Lastly, in this case we want to rip out the ball bearings and replace them with properly fitting ones and mate the parts correctly origin(assembly) to origin(part) since it lines up correctly in this sample part. We want to mimic the correct motion of the inner race, balls and outer race. The rest of this Tutorial covers how to do such a thing quick and efficiently, along with a few preliminary steps to confirm floating/fix and overall representation.
4. Lets’ test here- Please make section view using right plane. You can see multiple ball inside bearing. Now try to move few components.

5. SolidWorks assembly required mate relations to locate/ fix the components.

Step-2 Fix parts in assembly.
1. We have all parts moved everywhere. Please use ctrl + Z to go backwards in time and relocate parts. You can reopen the assembly too, to save time.

2. Now we are going to fix the all floating parts. Based on this assembly settings we are going to use origin mate relationship to fix this part.

3. Insert > Mates and select main assembly origin and then Part1 origin. Please review image for more clarification.

4. Please repeat the process for part 2. Apply coincident mates between assembly origin and Part 2 origin.

5. In next step we are going to mate ball with origin. Select assembly origin and Part 3 origin to mate coincident with each other.

6. Based on your design requirements you can apply mates to fully define the components. In this specific assembly you can repeat the process again for all balls.
7. We can use circular patterns to save time and organize components easily.
8. Suppress 6222_2Z_part 3 other instances. Shift Select all other instances and Right click.


9. Lets apply circuler pattern.


10. Turn on temparly axis and apply 10 instances circuler pattern.

11. Feel free to delete extra supressed parts from the assembly. Now Assembly is fully define and all parts are fix. Also have small feature tree. Which is easy to manage.

Step-3 Create new Package with Proper name.
1. If you would like to give these components name according to your company standard Please use pack and go to make brand new package.
2. Use Pack and Go to your advantage if you have a large quantity of files that to be renamed. Again, this is not really intended for SOLIDWORKS PDM users.

3. Double click on each components name and provide new name

4. Use pack and go feature to save it to new location.

5. Open the new package. You have your brand-new Assembly with proper components ready.

Step-4 Save as Single Parasolid Part
If you need this geometry as one single part file to simplify your process please follow below steps.
1. File > Save as> Save as Part.


2. Select preserve geometry references. Now You have one part with multiple Solid bodies.


Leave a Reply
Want to join the discussion?Feel free to contribute!